The goal:
To showcase how powerful Proxmox live migration can be for production use-cases.
The “servers”:
A Proxmox “cluster” is essentially a group of servers running Proxmox. Since I cannot afford multiple servers, I instead chose to deploy everything on Virtual Machines in the pursuit to learn Proxmox and Ceph without spending all my dabloons.
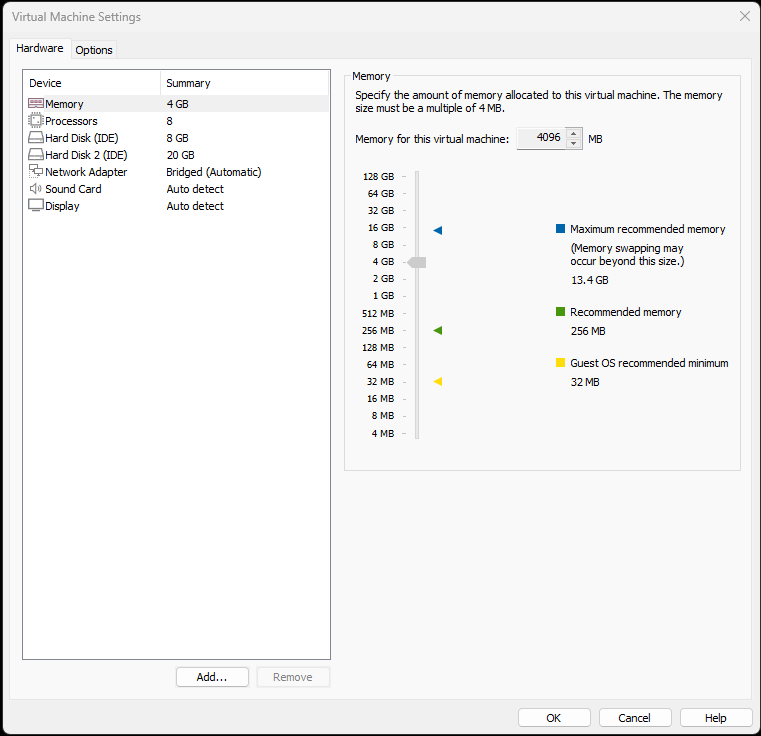
I have 3 identical virtual machines on VMWare with the following setup:
Proxmox setup:
I chose to install Proxmox directly for this experiment rather than installing it on top of Debian. However, depending on your server provider, your only option might to first install Debian and install Proxmox on top. Hetzner has a pretty good guide about how to do so: https://community.hetzner.com/tutorials/install-and-configure-proxmox_ve.
My Proxmox cluster has three nodes, which I have called Server1, Server2 and Server3 for ease of understanding. As discussed previously, these are just Virtual Machines on the same host.
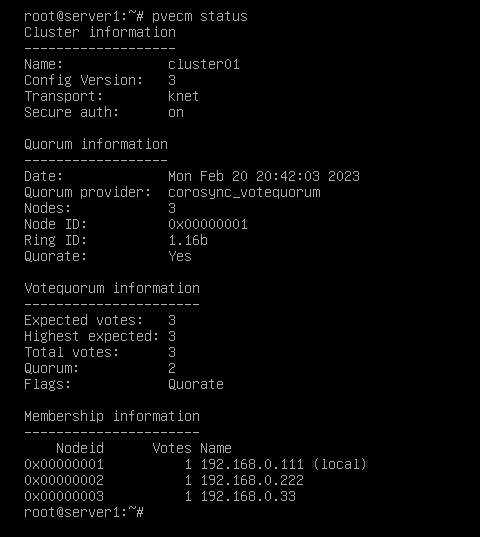
Creating a cluster in Proxmox is incredibly simple, you just have to run a pvecm command: pvecm create clustername on one of your servers. On your other servers run: pvecm add hostname, where hostname is the hostname of the server where you created the cluster. That’s pretty much as simple as it gets!
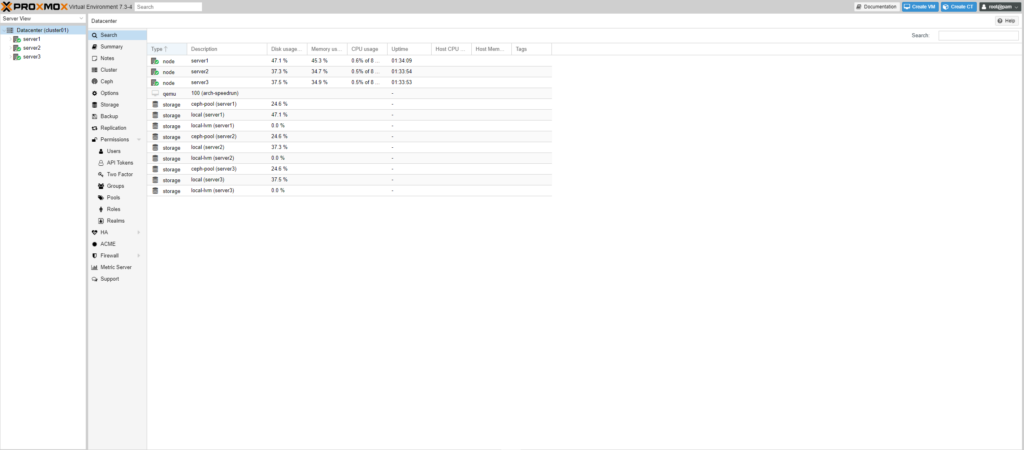
You can now run pvecm status to check cluster information, or open Proxmox Web UI to check whether you can access all nodes from just one Proxmox Web Instance.
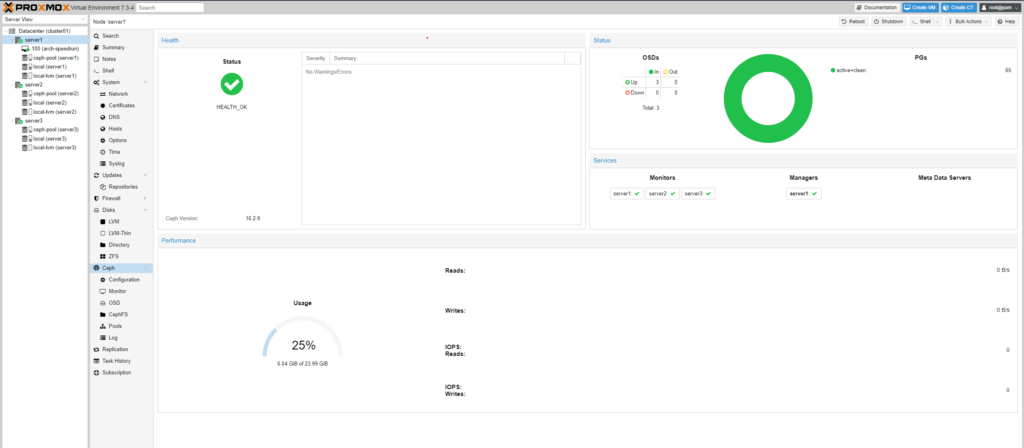
(Optional) Ceph Setup:
Ceph is a great option for centralized storage between our different servers for this experiment. Basically, Ceph would make it possible to create a shared pool of data where we could install Virtual Machines. Interestingly Ceph uses replicated pools by default, which is what we have used for this experiment. However, I have been learning more about Erasure coded pools, which seems like a much better approach for production use.
Creating a ceph cluster is pretty simple manually as well, but since we are using Proxmox it’s literally as simple as running the following commands:
pveceph install #installs ceph packages
pveceph init --network <ip/subnet> #Generates ceph.conf on one server
pveceph createmon #to create Ceph monitors on each server
pveceph createosd /dev/<disk> #Create OSD on specified disk
Live/Online migration using Proxmox:
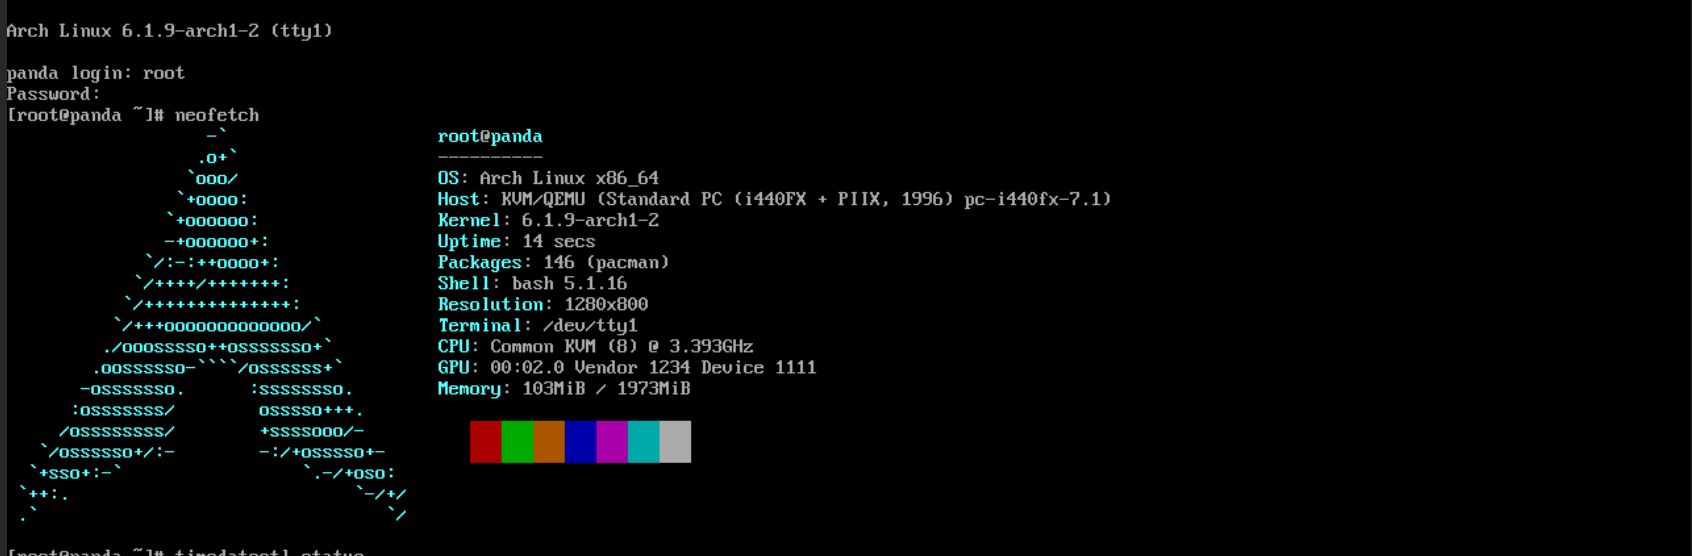
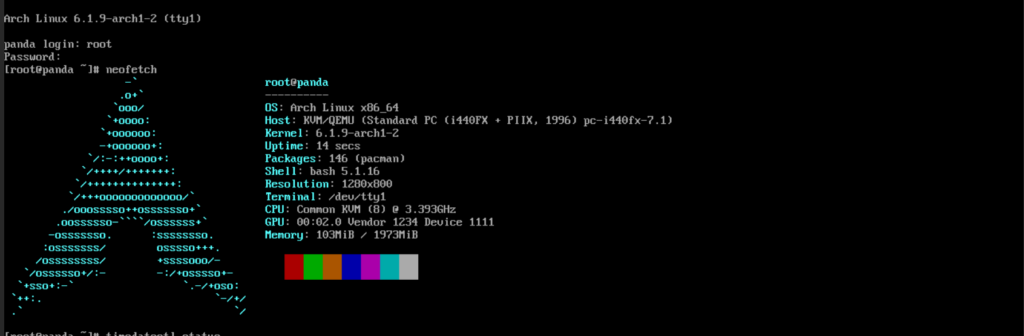
To recap, I have a 3 server cluster. Let’s say that Server1 needs to go down for planned maintenance but we’re running an instance of Arch Linux [How to speed run Arch Linux under 9 minutes] on Server1 where we host a bunch of applications.
If we were to take down Server1, we would obviously no longer be able to access those applications. However, with Proxmox and Ceph, we can just do a live migration of our VM to another server in the cluster within a few seconds with absolutely no downtime! You don’t have to take my word for it, you can see how there’s zero packets lost during our VM’s migration from Server2 to Server1.
Apart from live migrations, we can also have offline migrations, which some might deem way more important. In case Server1 goes down, all of the VMs hosted on Server1 need to migrate to another server in the cluster to ensure that clients can still access the applications Server1 was hosting. There is obviously still going to be some down time but it will be minute. I’ll be covering these separately in another post!