The premise
It took me about 48 hours when I first installed Arch Linux on my own back in college. I was very new to Linux and had no clue what I was doing. Messed up at least twenty times before I got a bootable setup. Today I installed Arch in just about 8 minutes and 50 seconds, on a Proxmox Virtual Machine. That includes the time to create the virtual machine, download and install packages and even boot up and run neofetch. This is how I did it.
The setup
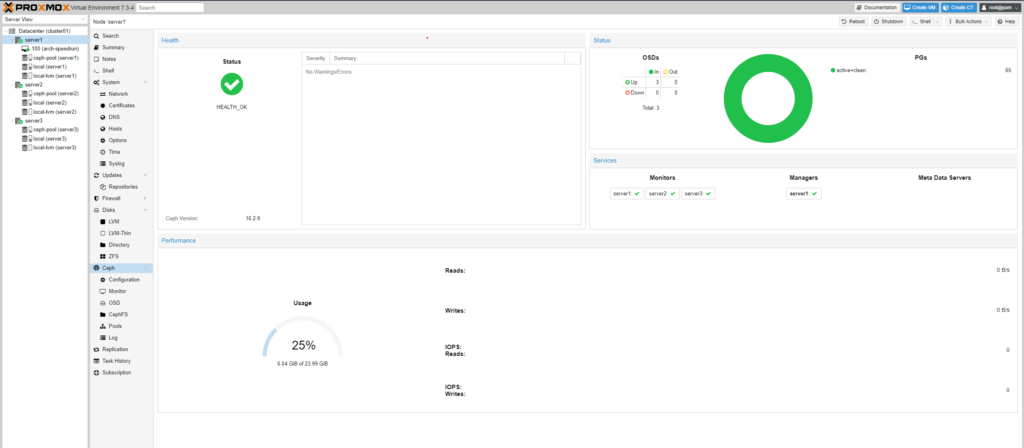
I have 3 nodes/virtual machines on my computer: Server1, Server2, and Server3. These Proxmox instances are in a cluster. I’m also using Ceph for shared storage across these three “servers”. Basically, I can do live migrations of all of my Virtual Machines over this shared storage nearly instantly with Proxmox and Ceph.
But why is that important for this speedrun? It’s not. In fact, it’s a deterrent since I’m installing a Virtual Machine on a Virtual Machine. VMception.

The rules
In a rough sense, I want an Arch Linux Setup that is “working”, so it has to:
- Obviously be able to boot.
- Have functional internet after boot.
- Also don’t want to skip any common steps like hostname setup, or locale setup.
- The time for download and installation is a part of the process and using cached mirrors would be considered cheating. The RNG (or added time if you choose to configure your mirror file) is part of the fun.
The execution
With these rules in mind, I laid out a couple of essential commands and here’s the result!

I did make some obvious mistakes, such as completely fumbling typing the commands or forgetting to setup my time-zone after chroot even though I did it at the beginning. But this was a fun experiment!
I’ll be making another blog post to go in depth about my Proxmox-Ceph setup and probably show live migration as well. Keep checking the Tech category!

Leave a Reply